5 Essential Tips for Successful Seed Starting this Spring
Spring is here, and that means it’s time to start seeds. Every year, this is one of my favorite parts of the farm: that first tiny sprout breaking through soil feels like hope in tangible form. But if you’re like me, you’ve also learned that seed starting comes with its challenges — a little too much water, not enough light, or forgetting which tray was which.
Over the years, I’ve experimented, failed, and learned a few things that make seed starting smoother, more reliable, and a lot less stressful. Here are my five essential tips for getting your spring starts off to a strong beginning.
1. Choose the Right Seeds for Your Climate and Season
Not every seed thrives in every season or climate. To successfully get the most out of your garden, you need to know your average last frost date. If you don’t already have a rough idea, a quick visit to the The Old Farmer’s Almanac website can get this information in minutes.
It is important to remember that this is an estimated last frost date based on historical data. This means that even if you are past the typical last frost, if you are transitioning plants outdoors it is still critical to watch the weather reports and look for those late frosts. Trust me when I say from experience that nothing feels worse than caring for plants for three months, transitioning them outside, and then losing all of them to an unexpected frost.
In addition to your last frost date, you should also know your average first frost in the fall. If you look at the back of a seed packet, you will notice they contain a number of days to harvest. However, some growing zones are shorter than what is needed for a full harvest. For example, I have to start certain seeds indoors three months in advance for any hope of a harvest.
This year, I’m starting calendula, tomatoes, peppers, onions, Brussels sprouts, asparagus, and a few herbs now to ensure they have a head start going into summer. I know these plants transplant well, are suited to my local spring conditions, and I’ve had success with them in past seasons.
Takeaway: If you’re new to seed starting, check your local frost dates for both spring and fall and plan your seed timeline accordingly. Plant too early, and seedlings struggle under low light or cool temperatures. Plant too late, and you miss the growing window
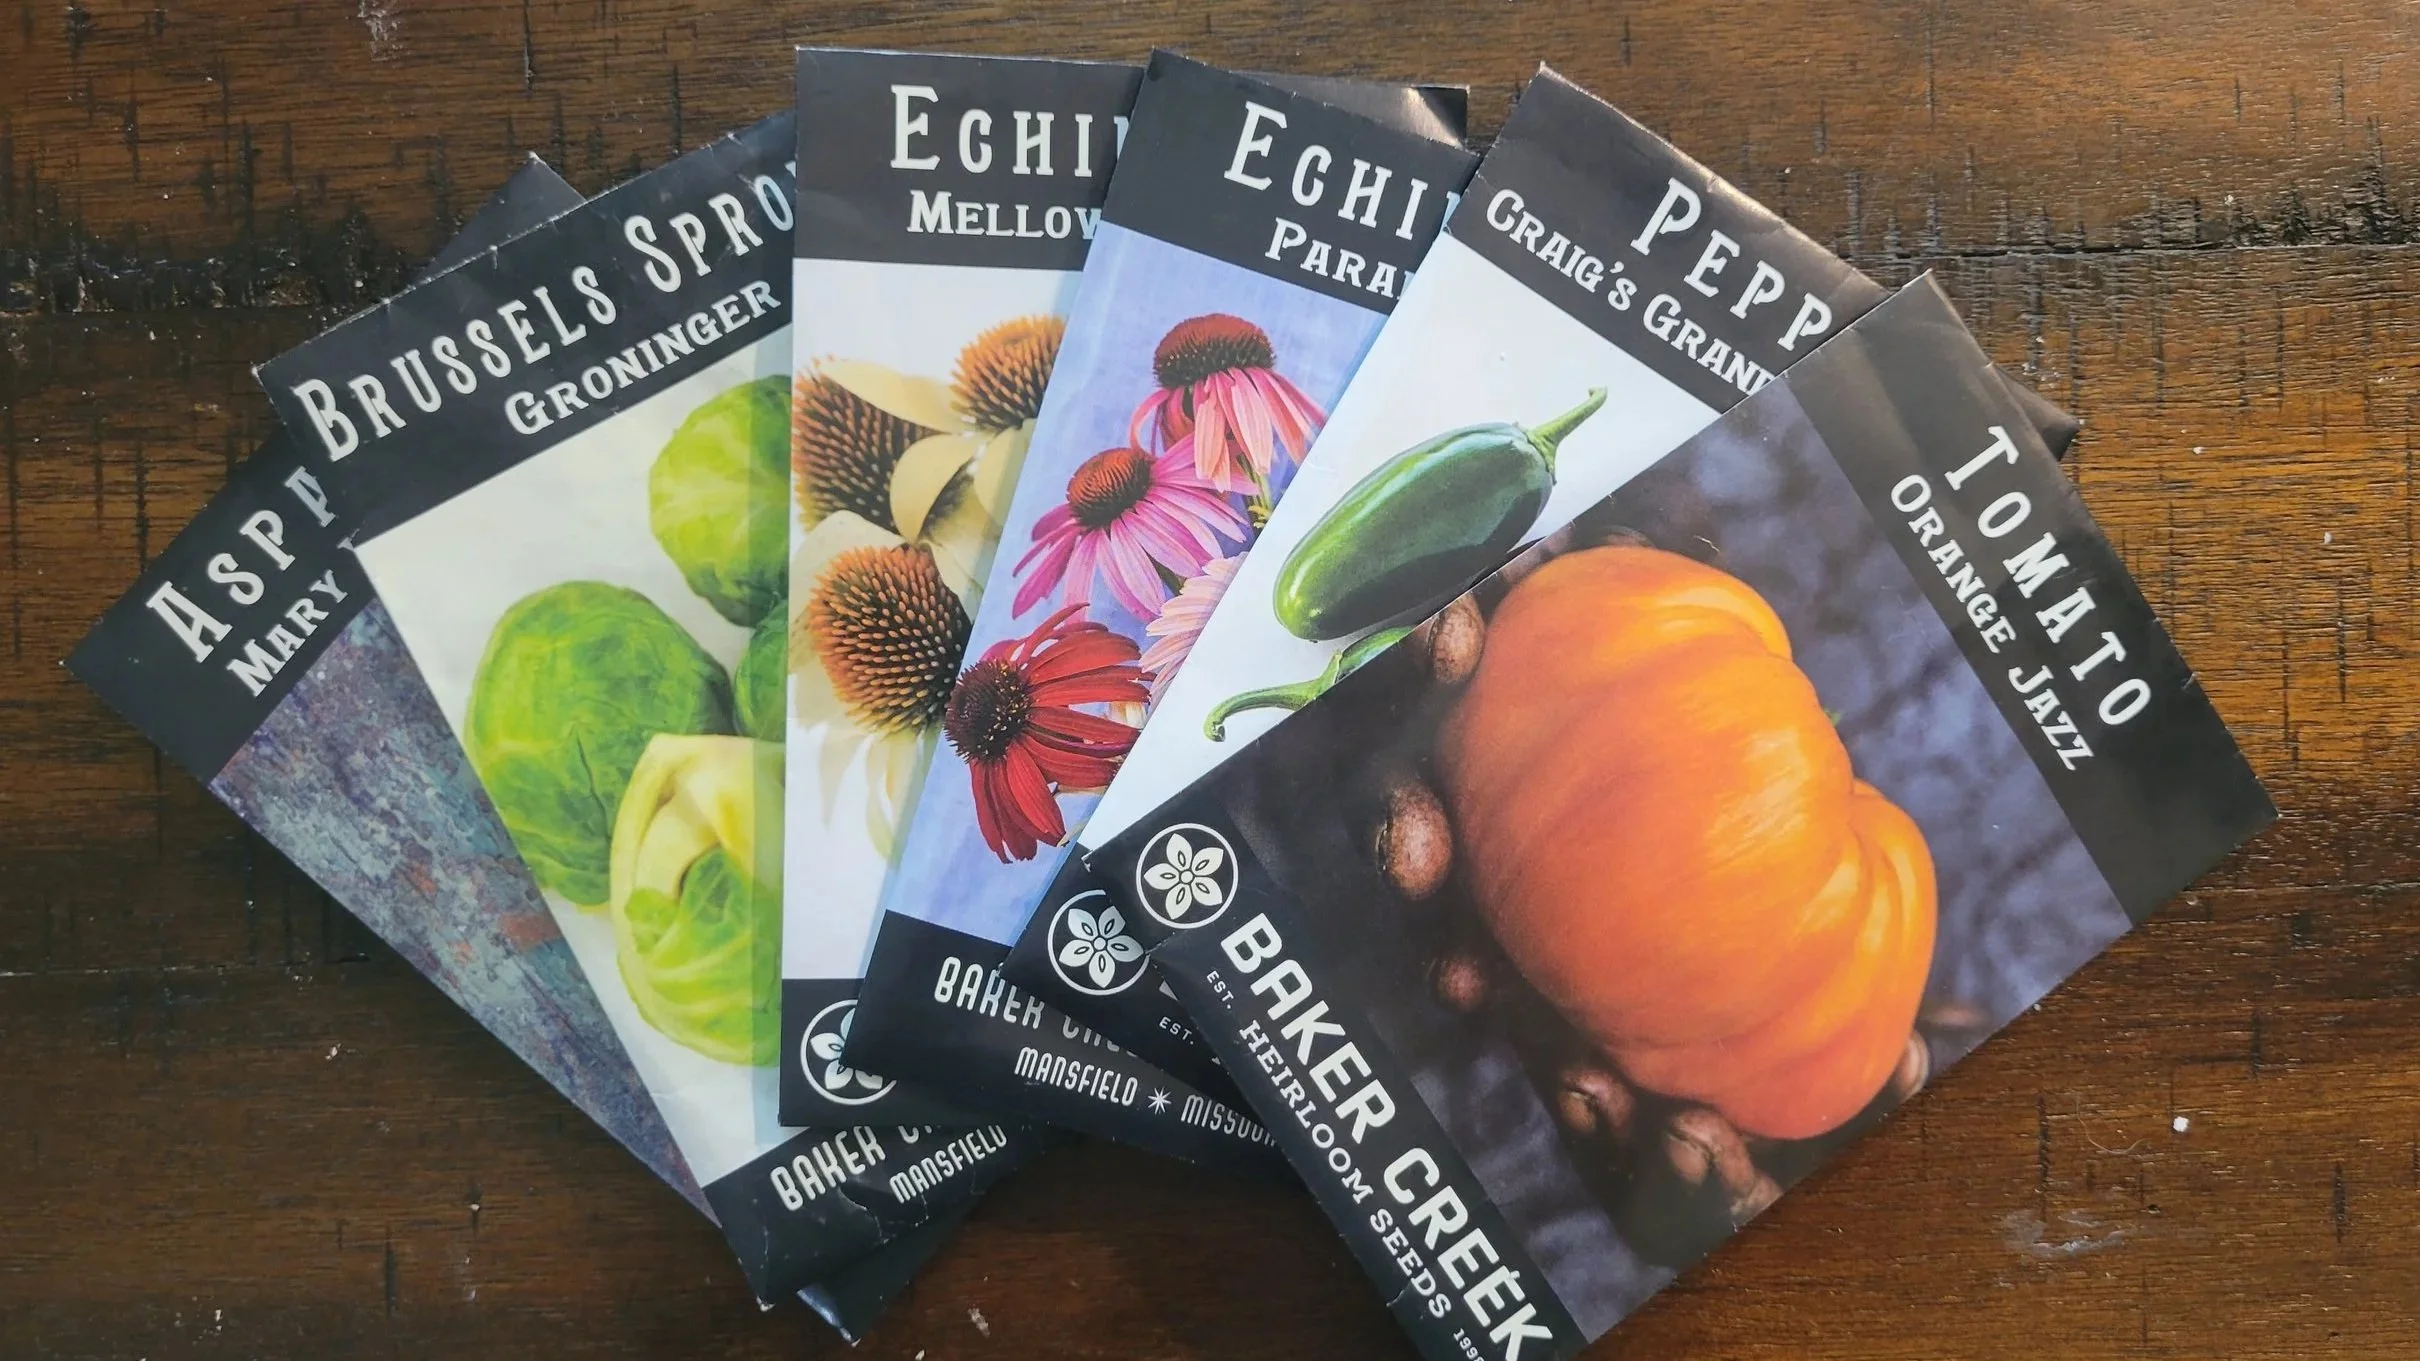
Baker Creek seeds are a must for me. I love the quality of these plants.
2. Use Quality Seed-Starting Mix
Regular garden soil can be heavy and may carry disease. Damping off is a huge risk for seedlings — a disease that can quickly kill them by attacking the stem at the soil level. For this reason, it is best to use some kind of sterile or soil-less media for seed starting.
I am partial to using coconut coir, as it is a more sustainable option than the peat moss found in many seed-starting soils. As a bonus, I’ve been using it for the last couple of years and have had a lot of success with it.
Seeds don’t actually need fertilizer at first. The seed casing contains the nutrition the plant needs until the roots are established. Instead of fertilizing early, your best option is to add a little compost or worm castings when you divide your seedlings into bigger pots.
This will be the topic of an upcoming YouTube video and blog post, so for now just skip the fertilizers.
Takeaway: Healthy seeds need a healthy medium — it’s the foundation for strong roots, which makes everything else easier.
3. Provide Consistent Light and Warmth
Seedlings need light to grow strong and avoid stretching. On my seed-starting rack, I use bright LED shop lights that I leave on 24 hours a day until the first seedlings germinate. After that, I switch to a 16-hours-on, 8-hours-off schedule.
A warm environment also helps germination, especially for tomatoes and peppers, but it isn’t strictly required. It mainly speeds up the germination process. I find most of my tomatoes germinate within about five days, while my peppers can take up to two weeks.
Honestly, if you start seeds far enough in advance, you can often skip the extra heat entirely. If you notice your warm-weather plants are not germinating, try a heat mat to see if that helps.
For ambient room temperature, I don’t heat my seed room any more or less than the rest of my house, which is typically around 70°F (21°C).
Once plants germinate, watch for the development of the first set of true leaves and pay attention to what the plants are doing. If they begin stretching toward the light and getting long and flimsy, your light source isn’t strong enough and it will lead to leggy plants.
Takeaway: If your seeds aren’t sprouting, check temperature and light first. Sometimes a small adjustment — moving trays closer to your light source or using a heat mat — is all it takes.
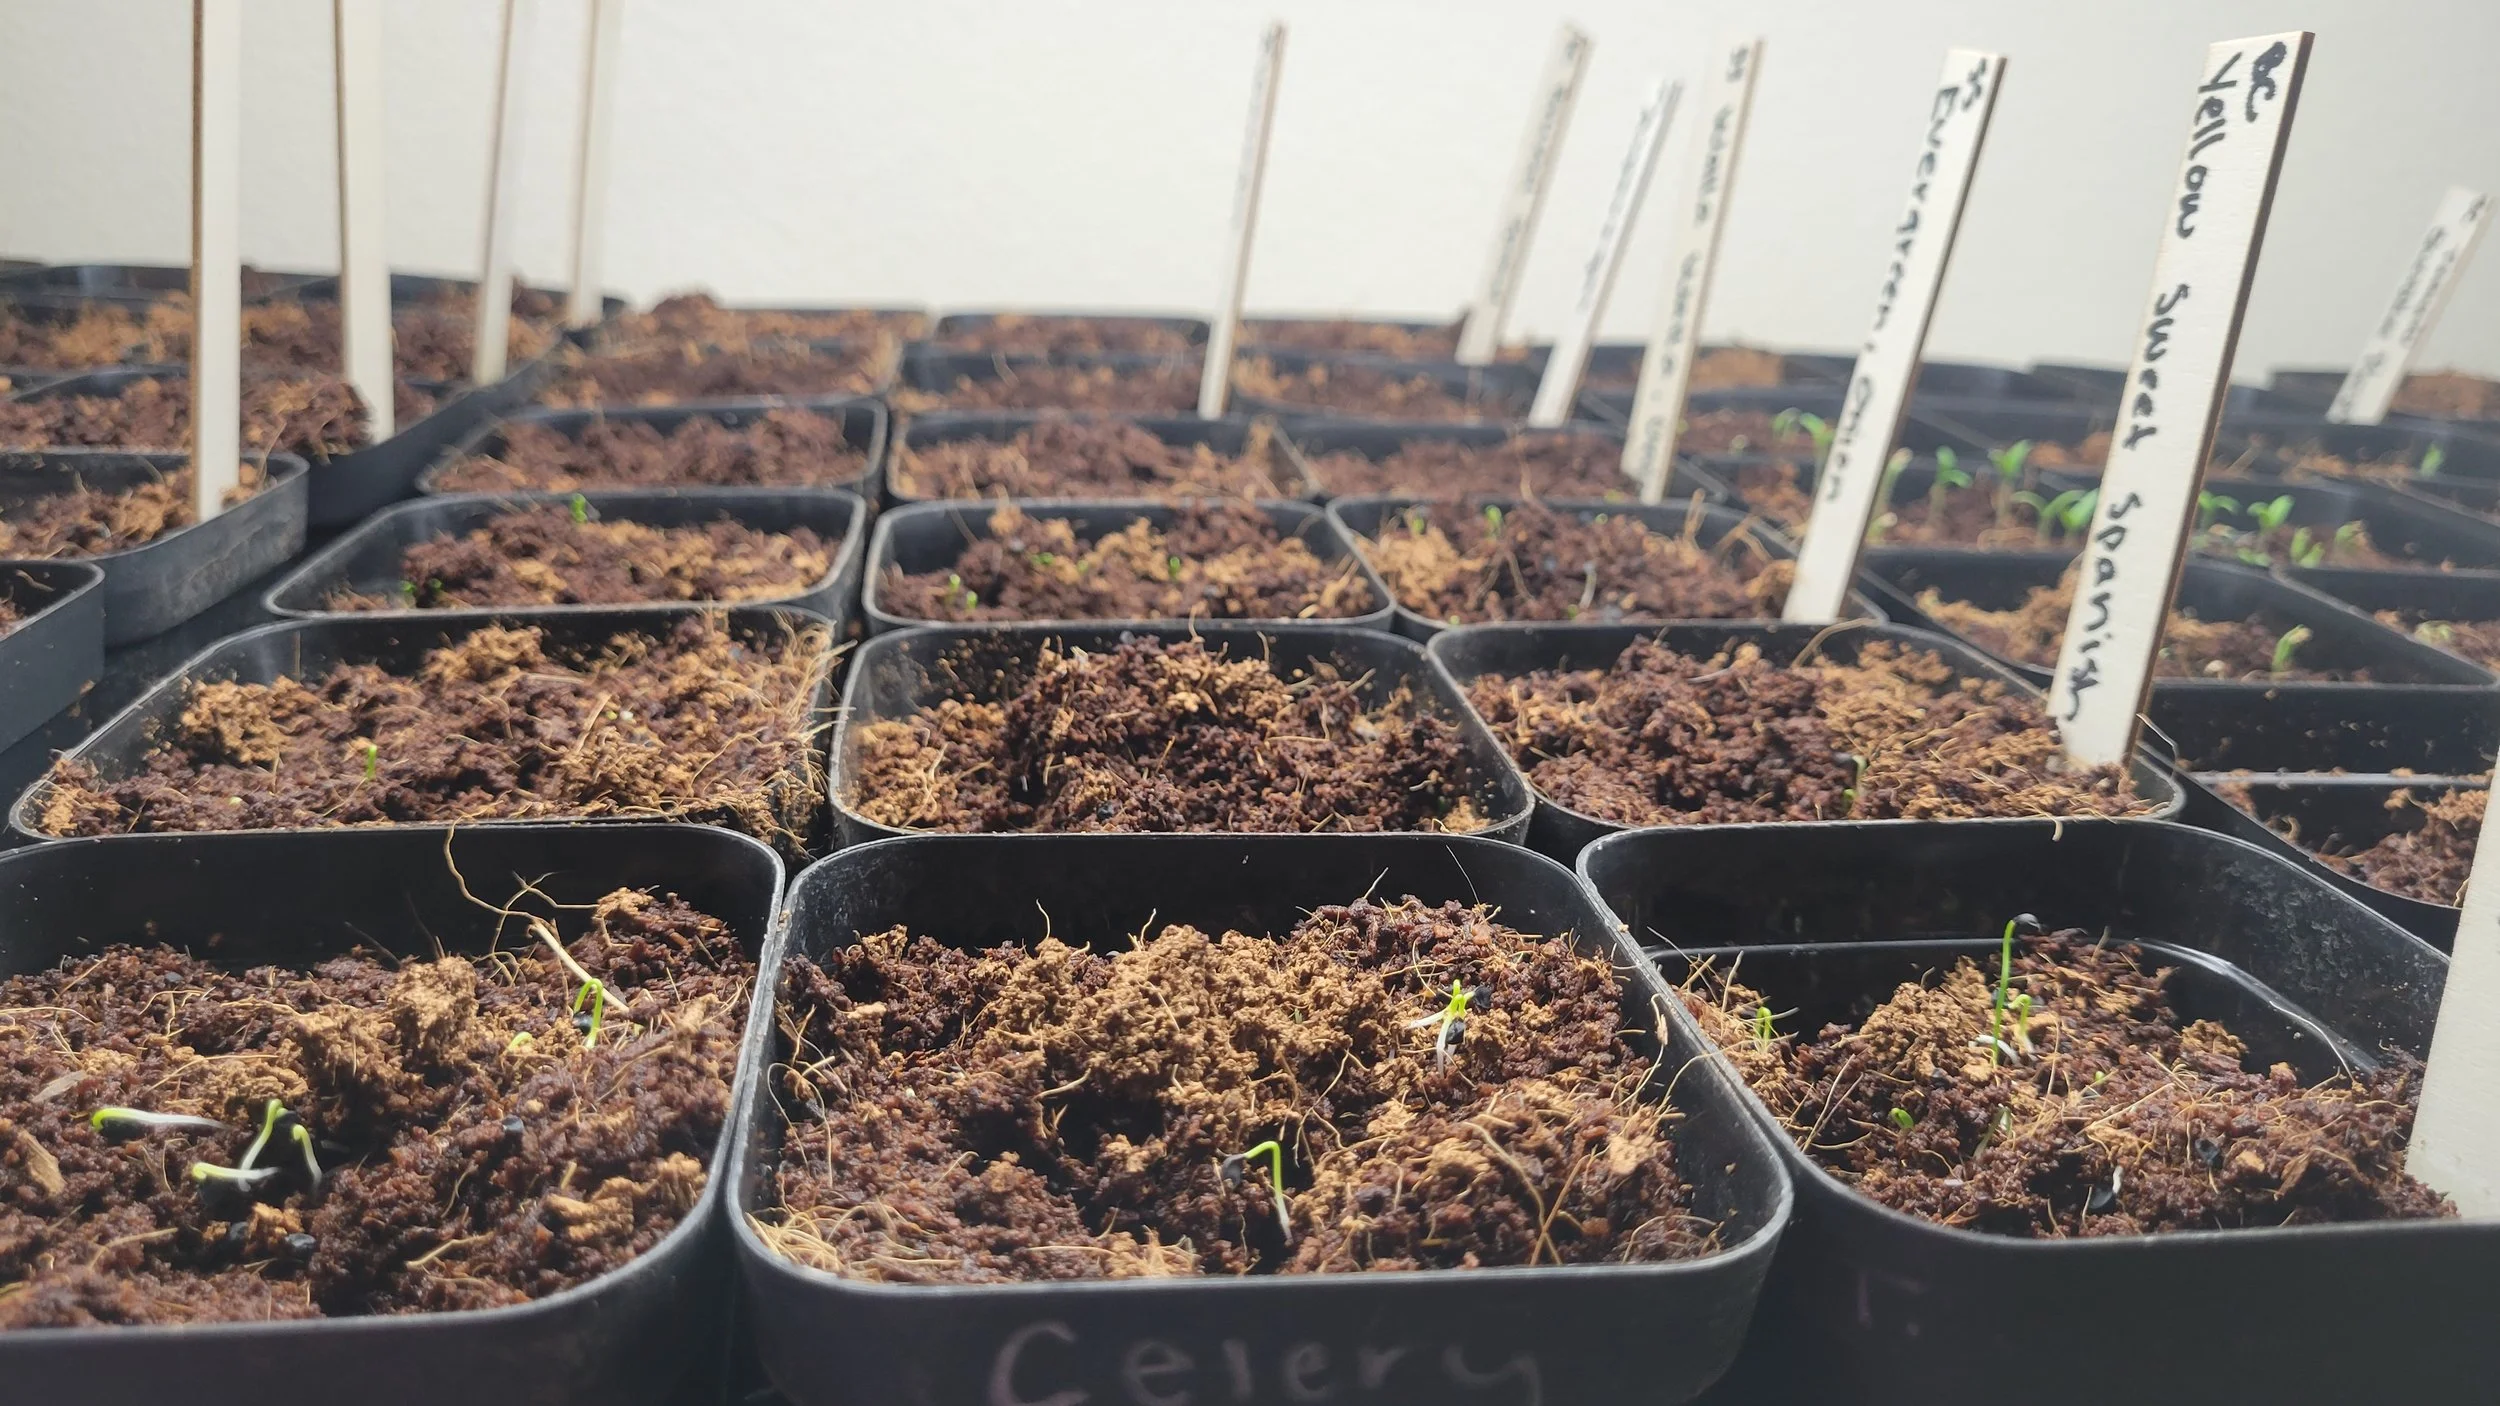
These seedlings emerged quickly with damp soil and bright overhead lighting.
4. Water Carefully and Monitor Moisture
Too much water can drown seedlings. Too little, and they wilt. I like to mist with a spray bottle and check the soil daily. The mix should feel damp, not soggy.
In the past, I’ve lost seedlings because I let the soil dry out for a day or watered too aggressively. Now, I mostly practice bottom watering. I add about an inch of water to the bottom of the seed tray, and the soil absorbs the water it needs like a sponge. When the tray dries out, I add more water.
As plants grow, their watering needs increase drastically. Seedlings may only need water occasionally, but larger plant starts can begin using water quickly. It’s important to maintain consistent moisture as they grow.
That said, more people kill plants from overwatering than underwatering. Plant roots are living things and need air and circulation to survive. Overwatering can lead to root rot and kill plants quickly.
You know your soil has enough water when it feels just damp to the touch rather than wet.
Takeaway: Maintaining consistent moisture prevents plant stress, but overwatering is one of the most common mistakes new gardeners make.
5. Label and Organize Your Seedlings
This is a small step that saves big headaches later. I label every tray and even each row if I’m planting multiple varieties. Nothing is worse than guessing which tomato is which or accidentally transplanting herbs into the wrong bed.
A simple label and organized tray system keeps my farm in order — even in the chaos of spring planting.
I can promise, speaking from firsthand experience, that even if you think you will remember your system, you won’t three months from now when it comes time to plant.
Takeaway: Simple systems that are easy to overlook now will save you a lot of time and guessing later.
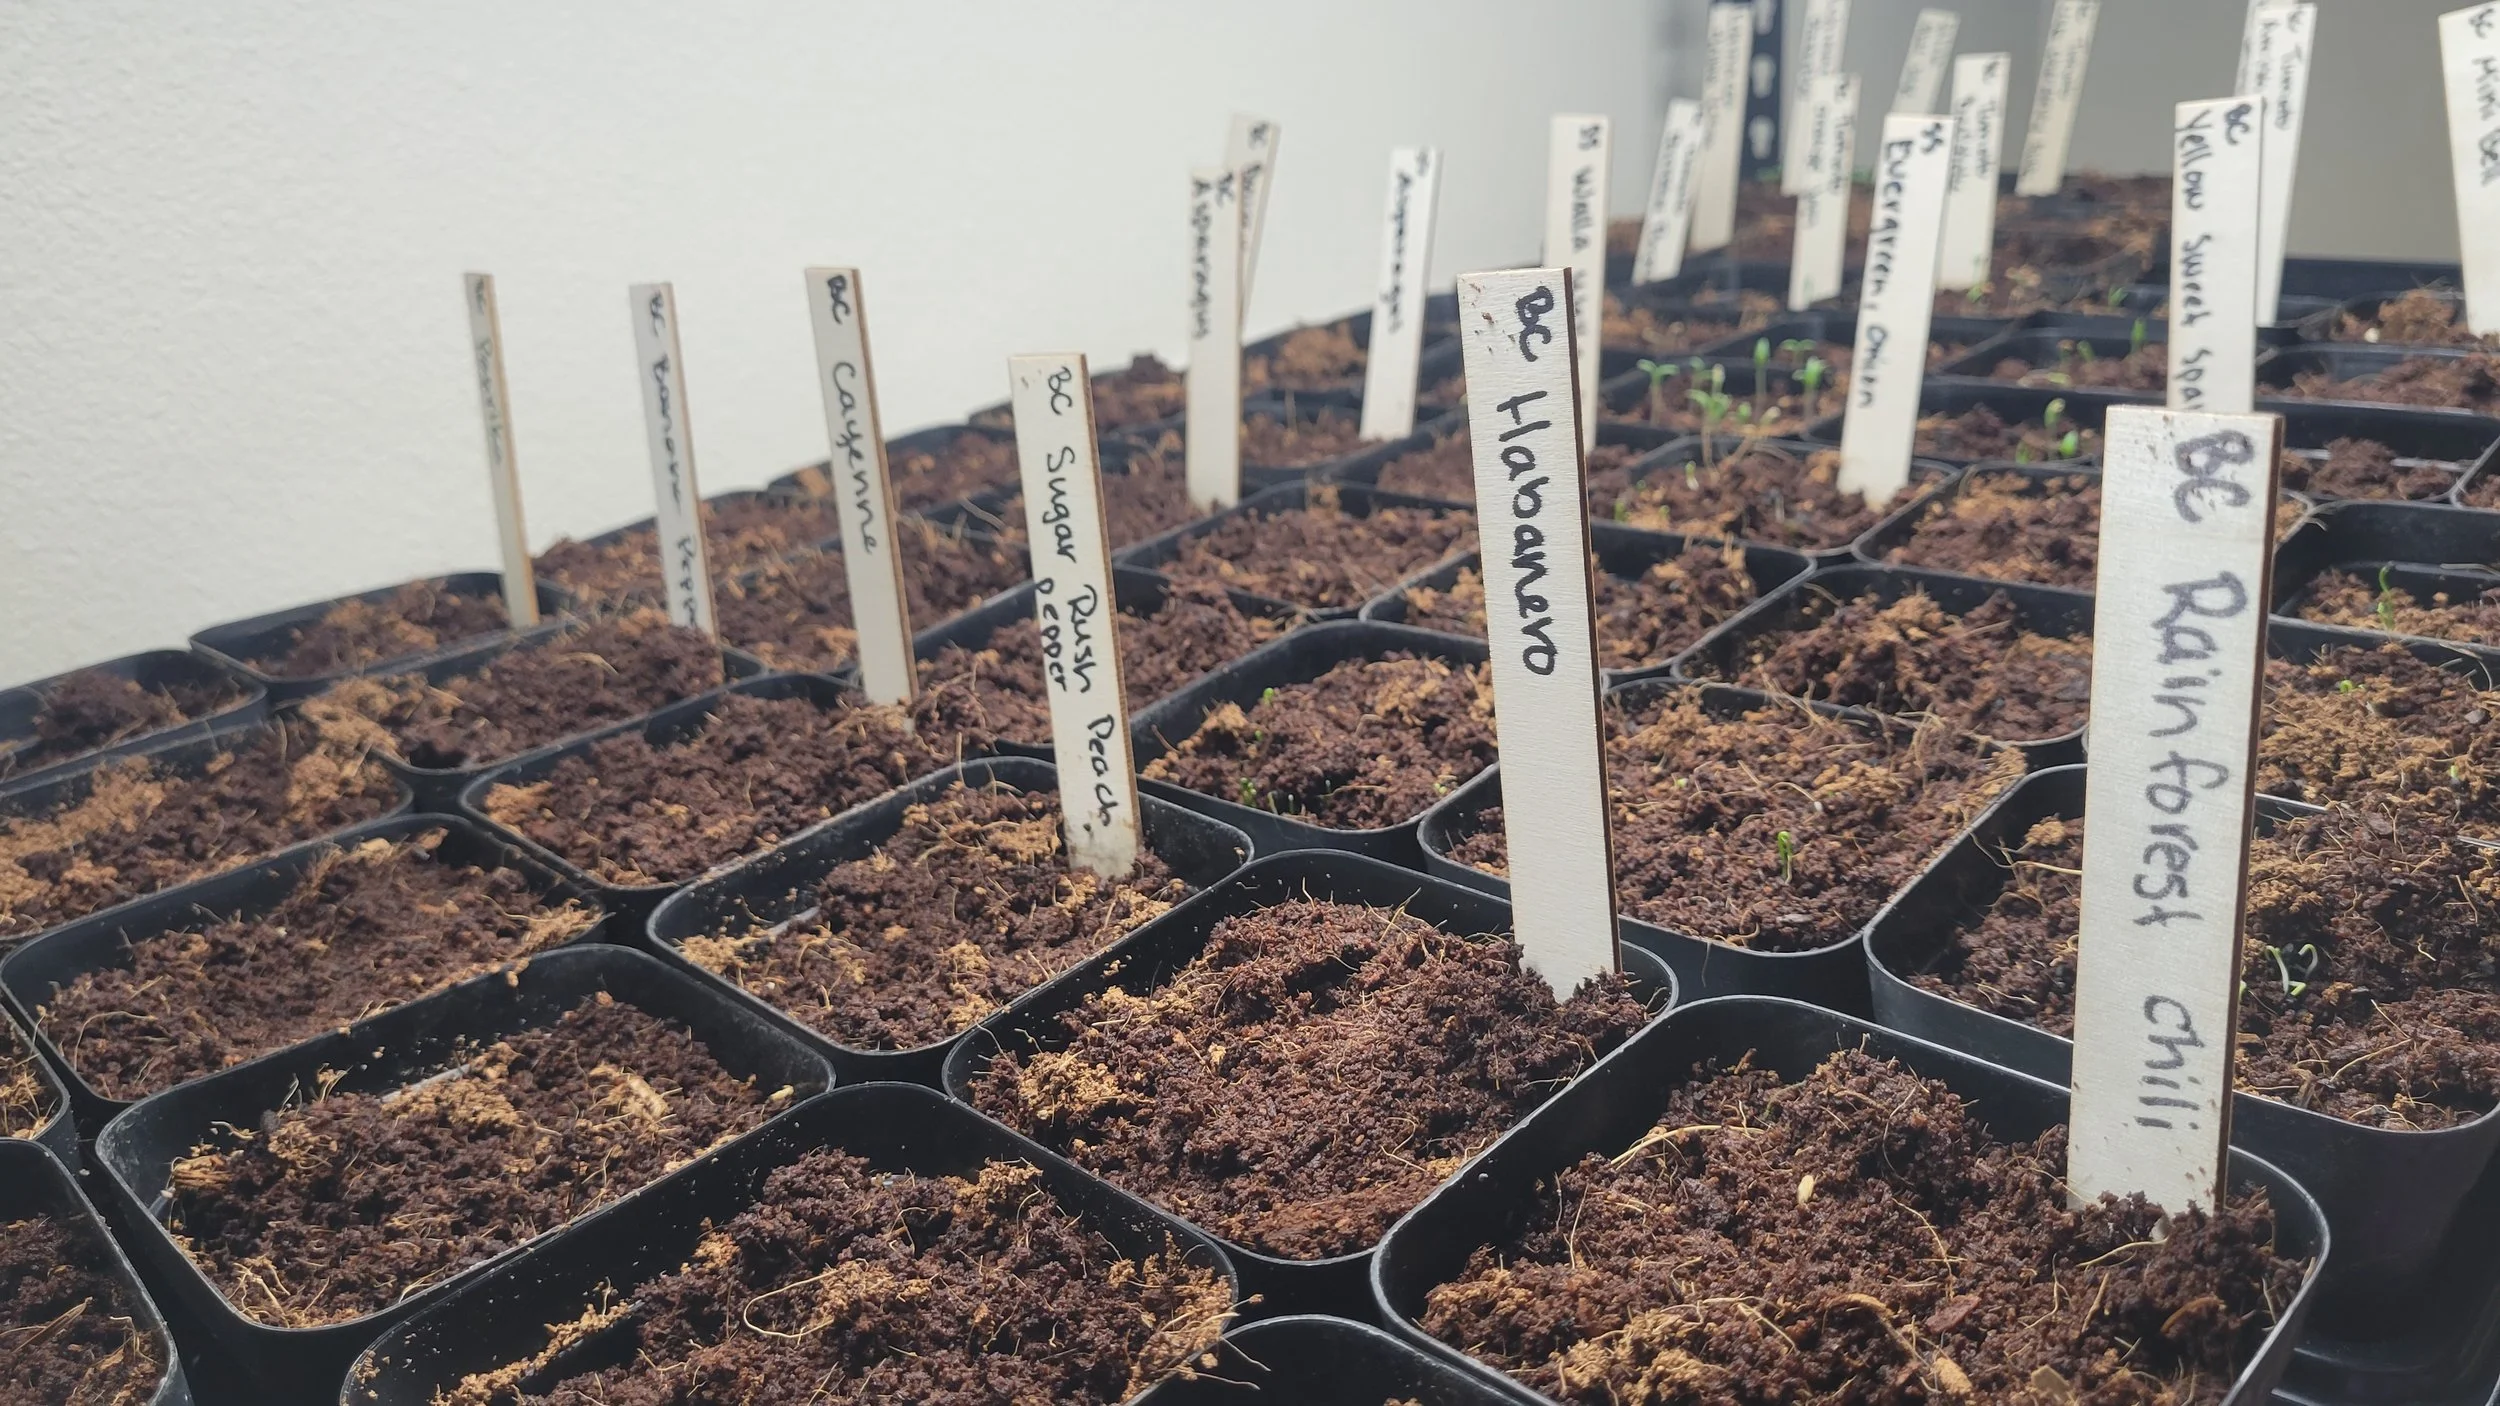
Each row of these trays is labeled with the company the seed is from (BC is Baker Creek; SS is Southern Seeds). Look carefully, and you can see my seedlings just starting to emerge.
Bonus Tip: Rotate and Harden Off Before Planting Outside
Before seedlings go into the garden, I give them time to adjust to outdoor conditions. This process is called hardening off, and it helps plants transition from the cozy indoors to wind, sun, and fluctuating temperatures. Taking the time to do this reduces transplant shock and increases survival once plants hit the soil.
Be watching for updates on how this process is done and why it’s so important.
Conclusion
Seed starting can feel small, repetitive, and sometimes frustrating. But there’s magic in those first sprouts. Every seed is a step toward a thriving garden, abundant harvests, and eventually, farm-produced goods.
This week, my workroom is full of trays, labeled rows, and hopeful sprouts. It’s messy, a little chaotic, and a lot of work — but it’s the part of farming I love most.